The webmail interface lets you set up individual folders, signatures and identities. Here is a demonstration and a description of the basic settings.
You will find the web interface at webmail.spacehost.cz, where you log in with the email account you created in the web hosting detail.
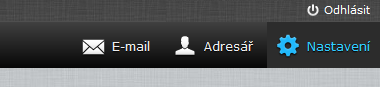
After logging in to the web interface, you will find a gear icon (Settings) in the top right corner. It opens the basic settings menu of this web interface.
You can configure the following settings here
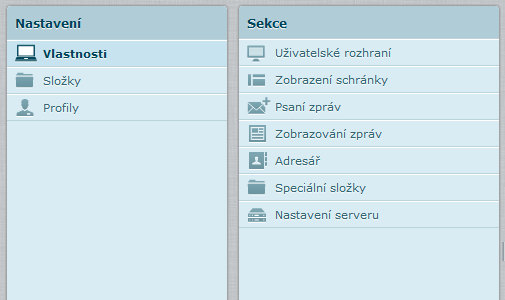
1. Preferences
- User interface
- Mailbox view
- Composing messages
- Displaying messages
- Address book
- Special folders
- Server settings
2. Folders
- Inbox
- Drafts
- Sent
- Spam
- Trash
- Junk
- Sent mail
- Deleted mail
3. Identities
- List of identities
Preferences
- User interface - Here you can set the language of the web interface (there are 70 languages to choose from), the time zone, the time format and the look of the interface.
- Mailbox view - In this section you can set the interval for checking for new messages, the preview display, delivery notifications and other settings
- Composing messages - Here you can choose the message style (HTML or plain), saving of drafts, encoding, the request for a return receipt, delivery status, the reply style and the default font.
- Displaying messages - Settings for the preferred display, encoding, displaying of images, etc.
- Address book - Adding contacts, listing contacts, sorting, the number of items displayed, address autocompletion when composing new messages
- Special folders - Here you can set how emails are saved to individual folders.
- Server settings - The main settings for actions when reading, deleting and displaying messages, emptying the trash and mailbox maintenance.
Folders
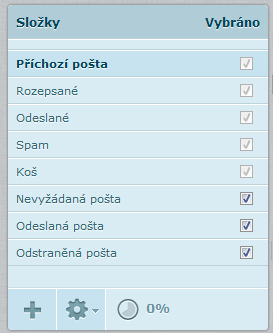
Here you can only edit the folders Junk, Sent mail, Deleted mail and the folders you created yourself. You can edit the name, the parent folder and the display mode.
With the + icon you can create and set up additional folders.
Identities
In this section you can create individual identities (aliases) for your mailboxes. New identities are added with the plus + button.
Editing or adding takes place in the same window, and the options are identical.
In each identity you can also set a signature that is used when writing new messages or replying to an email you have already received.
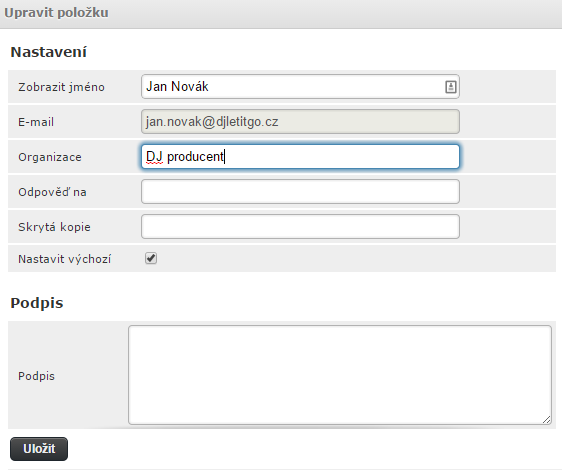
- Display name - The name shown on the email (required)
- Email - the email address of the given identity
- Organization - Filling this in is not required
- Reply-To - The address that should be pre-filled for replies to a sent email
- Bcc - The email address where blind copies of sent emails are sent
- Set default - The option to set the default identity
Signature
You can create a signature that is used when writing new messages and replying to received ones. You can also create HTML signatures here.
Note that the Name field is required, so if you are filling in a signature, for example, do not forget to fill in the Name as well.
Setting up the right signature is covered in detail in a whole article called Setting up an automatic email signature.
Contacts
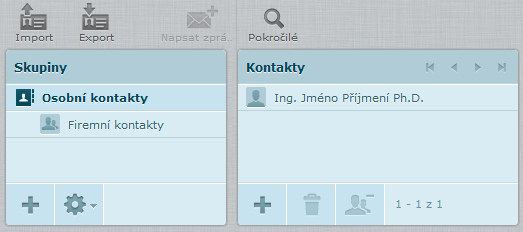
After logging in to the RoundCube web interface, you will find the Address Book link in the top right. It opens the basic address book menu

- Contacts can be exported to or imported from a vCard file
- Write an email to a found or selected contact
- Advanced search by the criteria you enter
You can also sort individual contacts into groups. New groups are created with the + icon
Adding, deleting and removing individual contacts is done in the second column